Embarking on a step by step install of a DIY mini split system can be a rewarding project that not only cools or heats your home but also teaches you valuable lessons in patience, planning, and precision. While brands like Zone-Air and MRCOOL DIY offer high-quality mini split units designed for easy installation, success isn’t just about purchasing the right equipment — it’s about the mindset and process.
In this post, I’m diving deep into why patience matters so much during a DIY mini split install, especially when your upfront costs typically range from about $1,000 to $3,500 (before labor savings), and you’re relying on basic tools like drills, wrenches, line sets, and refrigerant lines. Plus, with smart home integrations like Amazon Alexa becoming the norm, a flawless setup is more important than ever.
The Hands-On Journey: More Than Just HVAC
When I first started working with HVAC-adjacent jobs, one thing became crystal clear: every successful project taught me something new. Installing a mini split system yourself isn’t just about mechanical know-how; it’s a personal growth journey. Here’s why:
- Patience fosters better planning: Rushing into installation leads to overlooked details that can cause leaks or inefficiencies. Confidence builds through action: Each step you complete correctly is a win that encourages you to keep going. Setbacks become lessons: When you take your time, mistakes transform from frustrating failures into learning moments. Attention to detail prevents costly problems: This is crucial when handling refrigerant lines and ensuring an airtight seal.
Why Rushing Is the Enemy
Let me be blunt: rushing through any part of your install is the easiest way to create headaches down the line. I always keep a notepad next to my drill to write down mistakes before repeating them — this habit has saved me hours and dollars. Whether you're tightening a flare fitting or measuring where to mount your indoor unit, moving too fast invites errors.
Skipping over the “boring” prep steps often means you’ll have to dismantle your work later. This feeds into another trap — frustration — which can make even patient DIYers want to give up.
Step by Step Install: The Calm In The Chaos
Let’s outline the major stages where patience is your best friend. I’m talking about the key steps that every beginner installer encounters:
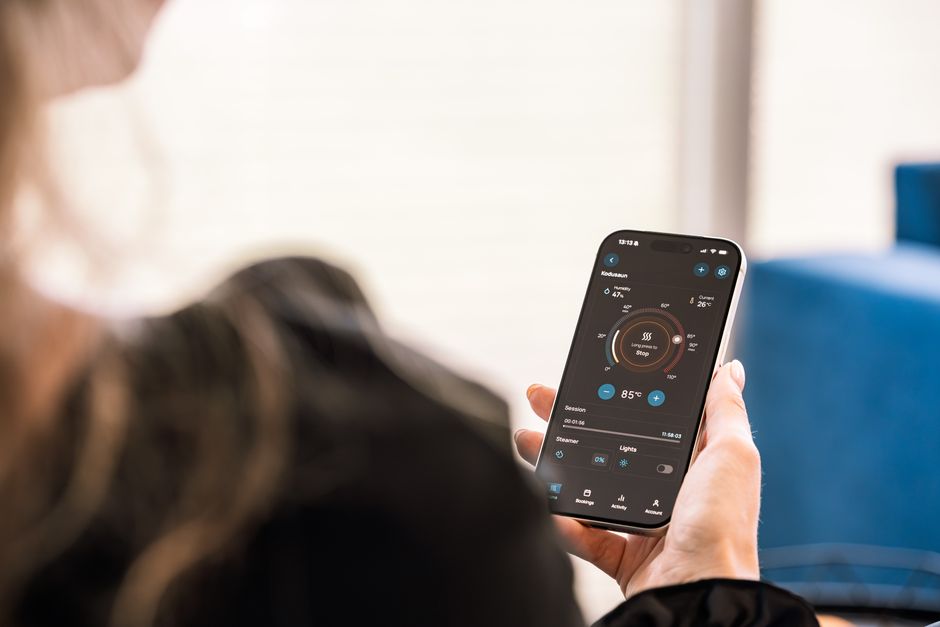
Planning and Measurement: Measure twice, re-check once more. Nothing beats meticulous planning — from wall studs to power supply locations. Tools and Material Prep: Make sure you have your drill, wrenches, line set, refrigerant lines, mounting bracket, and a level handy. Label and organize your spare parts in zip bags to avoid last-minute scrambling. Mounting the Indoor Unit: Level and securely fasten the bracket. A crooked indoor unit not only looks bad but drains efficiency. Drilling the Hole: Take your time to drill the perfect passage for the line set — clean and correctly sized to prevent damage over time. Connecting Refrigerant Lines: Connect and flare lines carefully to avoid leaks. This step demands the most attention to detail. Installing the Outdoor Unit: Place it on a stable, level base, ensuring proper clearance and airflow. Running Electrical and Diagnostics: Double-check the manual for wiring. Use tools to test connections before powering on. Vacuuming the Line Set: Remove any moisture and air before releasing refrigerant — another part that rewards patience. Testing and Integration: Turn it on and check cooling/heating performance. Pair your new system with Amazon Alexa to enjoy hands-free climate control.Patience Pays Off: Avoid Rushing Mistakes
Here are a few common mistakes I've seen and experienced, and how patience (or lack thereof) impacts them:
Mistake Consequence How Patience Helps Improper flare fitting on refrigerant lines Leaking refrigerant, loss of efficiency, possible need to hire a pro for repair Taking time to double-check flare edges and torque settings prevents leaks Skipping level checks when mounting indoor unit Water drips inside, wall damage, reduced cooling efficiency Using a level repeatedly ensures the bracket is perfect before screwing Drilling an incorrect-sized hole in wall Refrigerant lines pinch or rub against edges, causing long-term damage Measure three times, drill slowly and check for burrs Not fully vacuuming line set Moisture and air cause corrosion or ice blockages in system Be patient during vacuuming; rushing can leave residual moisturePlanning and Preparation: Your Blueprint for Success
Before you even unbox your mini split, planning and preparation must be your first priority. This means:
- Reading the manufacturer’s manual completely (yes, all of it) Sketching a rough layout of your install area, considering indoor / outdoor unit proximity Ordering high-quality line sets and refrigerant lines (Zone-Air offers good options for those seeking alternatives) Ensuring proper electrical infrastructure is in place – consult local code if unsure Setting up your workspace with all the basic tools: drill, wrenches, level, measuring tape, insulated gloves Creating a timeline that allows breaks and troubleshooting time without pressure
This pre-install phase is where patient DIYers shine. When you invest adequate time here, your entire installation flows smoother and budgets stay on track.

Confidence Through Action: The Ultimate Reward
There’s a special kind of confidence that comes not from watching YouTube tutorials or reading forums but from actually getting the job done. Sure, the first time might take a weekend or more, but that hands-on experience is irreplaceable.
And when you flip the switch and hear that mini split hum to life, instantly responding to your Amazon Alexa command to cool the room? That’s a moment that turns a mere appliance install into a personal milestone.
Summary: Patience Transforms Challenges Into Mastery
Installing a DIY mini split is a balancing act between mechanical skill, patience, and preparation. With mini split square footage upfront costs typically ranging from about $1,000 to $3,500, it’s tempting to rush to finish and start saving on utility bills immediately. But rushing is the quickest path to mistakes.
By embracing a step by step install approach, paying close attention to detail, and learning to welcome setbacks as teachers rather than failures, you set yourself up for both a successful project and personal growth.
Remember these takeaways before you start on your mini split project:
- Patience is not just a virtue here — it is a necessary tool. Preparation and careful measurements prevent costly rework. Taking your time with refrigerant line connections and vacuuming keeps your system running smoothly for years. Confidence builds with each correctly completed step, turning technical fear into DIY pride.
So grab your drill, wrenches, and line set, bookmark your favorite brand like Zone-Air or MRCOOL DIY, sign into your Amazon Alexa, and start your patient, rewarding journey towards total home comfort control!